Bone Broth 101
/You eat (drink?) chicken broth, beef broth, veggie broth and maybe even fish stock, but have you ever had bone broth?
As with most things at the store, bone/beef broth on the shelf is very different than the homemade stuff. The store bought bone broth is highly processed, filled with sodium and typically doesn’t simmer as long and has less fat (and let’s be honest; here at LitFL… we <3 fat).. As Chrissy Teigen says on her Insta Stories in regards to bone broth, “The stuff you get at the store is shit.”
Homemade broth is wonderful for many reasons. Not only do you control exactly what goes into it, but you can also manipulate the flavor, fat content and experiment in the kitchen (#FutureJuliaChild). You also simmer the bones for more than 24 hours to break down the marrow and nutrients in the bones, vs 3-4 for broths. Did I mention it is delicious?
Like a good handbag, bone broth has many uses. You can use it as a base for gravy, soups, stews, etc., you can also drink it in 1 cup servings while you are fasting (1-2 servings per day are recommended); you can use it for therapeutic reasons to heal your body (hi - ankle sprain here); you can use it as a digestive aid. The possibilities are endless!
We use bone broth as a way to enjoy something flavorful while fasting, while not breaking fast. It’s also a way to introduce nutrients, minerals and electrolytes into your body during fasting. Did I mention it is delicious?
The best bones for broth are the thick and meaty bones that have been cut to expose the marrow so it seeps out into the broth. The butcher is the best place to get them, and it’s totally normal for ask for them at the store. If you’re in Dallas, we get ours from Burgundy’s. We love grass fed (and grass finished) products. We also love buying local whenever possible. #texasmade
Here is the recipe we got from Burgundy’s (did I mention it’s delicious?), and some pictures from the process.
2 medium sized onions
4 roughly chopped carrots
4 roughly chopped celery stalks with leafy tops left on
8 whole cloves garlic
10-20 peppercorns (pepper will make the broth look funny)
Salt to taste
3-4 tsp vinegar (something acidic to extract minerals from the bones)
8-10 sprigs of thyme
2-3 bay leaves
1-1.5 gallons of water
Place the bones on a large baking sheet and insert to a preheated 375 degree oven for 30-40 minutes
Combine all ingredients except herbs into a stock pot or crockpot (we used a crock pot). Veggies should be washed but there is no need to peel them.
Deglaze the baking sheet and get all the browned bits into the pot
Slow simmer for 12-36 hours and add water if necessary
Remove from heat and add herbs
Add the pot to cool enough to strain
Remove the bones and veggies from the pot
Pour the liquid over a cheese cloth and strainer into a large bowl so you remove all particles and such
Allow the strained liquid to cool enough so that the fat rises to top and hardens
Remove the hardened fat (don’t worry - there is plenty of the good stuff still remaining in the broth)
Refrigerate up to 7 days or freeze appropriately.
Tip: Before enjoying, we love to add a bit of additional salt and onion powder for additional flavor.
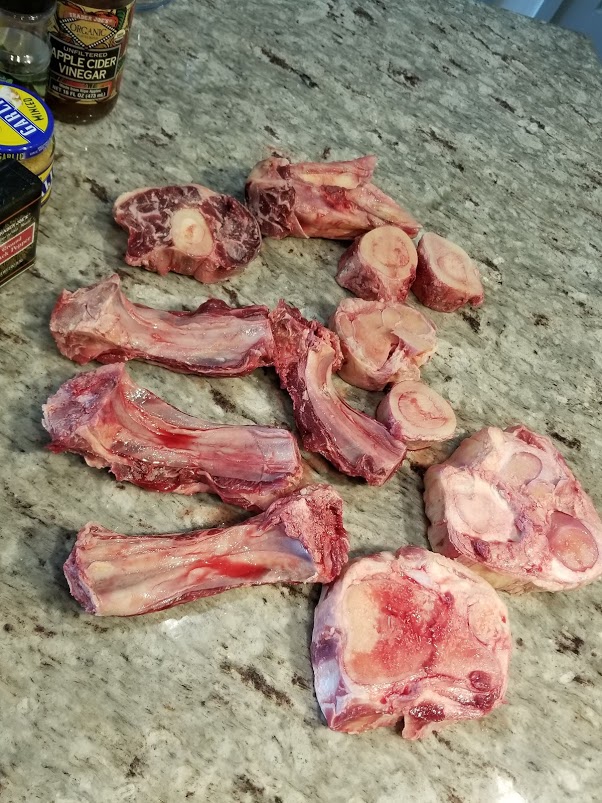
Yummy, delicious, grass-fed bones.


After they've finished brownin'

Ready to start simmering.
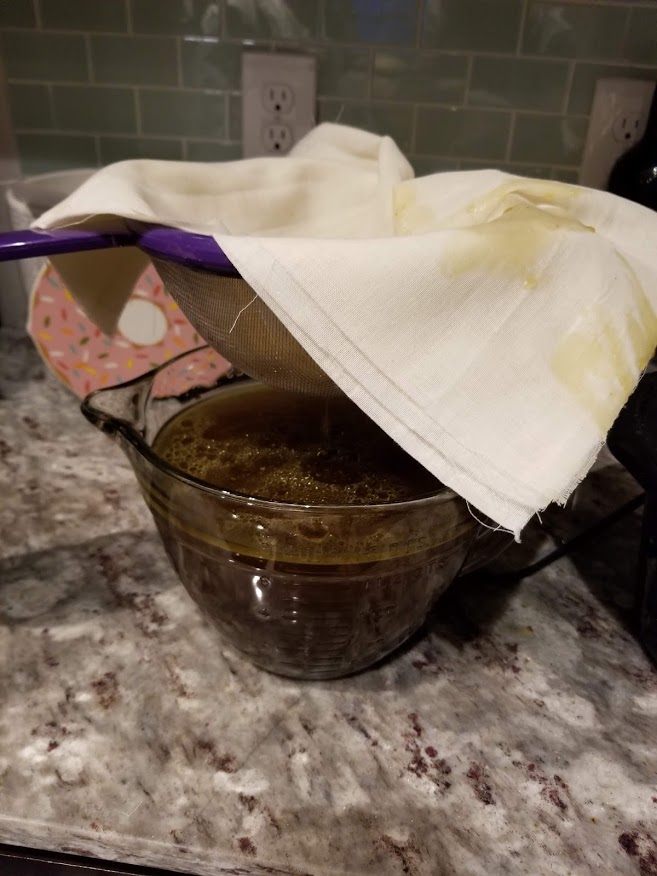
Almost there - strain out the debres.

The yellow layer of fat is what you want to let settle - and then remove from your broth.
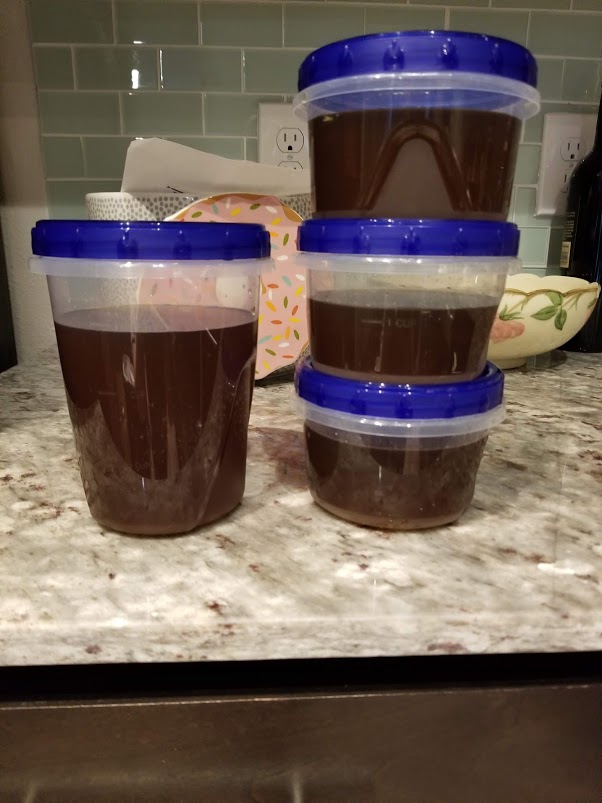
Freezer ready!